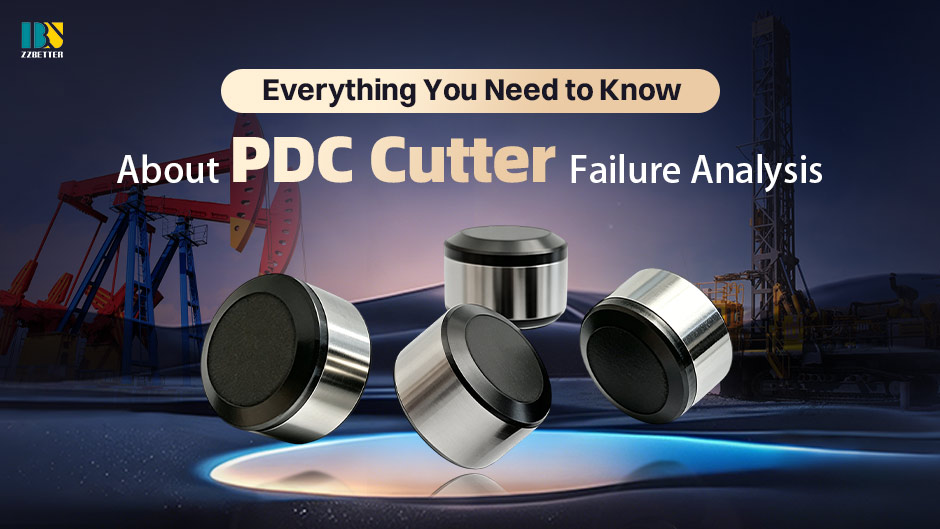
PDC cutter failure analysis isn't about memorizing a dull grade chart. It's about reading the physical evidence on a pulled bit, matching it to downhole conditions, and making a decision that balances cutter design with drilling parameters. In the field, three mechanisms cause almost all non-accidental failures.
1.Chipping and Breaking
You drill through soft shale, then suddenly hit a hard sandstone stringer. The bit jumps. When you pull it, the cutters look like somebody took a hammer to the edge – chunks missing, not the whole face, just the rim.
· What happened: The cutter took a shock load. Diamond is incredibly hard, but it’s also brittle. A sudden impact from a hard rock or a hard nodule in a soft formation causes a crack to shoot through the diamond layer. Once that edge chips, the cutter drags instead of cuts, and things get worse fast.
· Real example: An 8.5” bit drilling the Atoka formation in Oklahoma lost 60% of its cutters to edge spalling within 40 hours. The formation changed back and forth between shale and abrasive sandstone every few feet.
· How to fix it: First, use a cutter with a chamfered or beveled edge – that 15 to 20 degree angle spreads out the hit. Second, ask for “edge-leached” cutters, where they remove cobalt only from the outer rim. This keeps the core tough but the edge more impact-resistant. Finally, if you know you have interbedded rock, run lower RPM and let the bit “settle” into the hard section instead of bouncing off it.
2. Abrasive Wear
This is the most honest failure. The cutter simply worked until it had nothing left. When you pull the bit, the cutters are rounded over, polished smooth, and completely dull. No cracks, no missing chunks – just worn out.
· What happened: Every rotation, the cutter scrapes against hard quartz grains. Those grains are almost as hard as diamond. Over hundreds of thousands of passes, they slowly micro-abrade the diamond away. The cutter stops cutting and starts rubbing. Rubbing makes heat, and heat makes it wear even faster.
· Real example: Deep Cotton Valley sandstone in East Texas – quartz-rich, brutal on bits. A standard PDC cutter lasted 80 hours and came out looking like a smooth pebble. ROP dropped from 15 feet per hour down to 4.
· How to fix it: You need a cutter made for abrasion. That means smaller diamond grains (4 to 8 microns instead of 10 to 20) packed tighter together – up to 95% diamond by volume. You also need to adjust your running parameters. Don’t spin the bit fast; instead, put more weight on it. You want the cutter to shear the rock, not rub it. In the field, dropping RPM by 15% and increasing weight by the same amount can double the footage before the bit pulls dull.
3. Thermal Damage
This one tricks people because the cutter often looks fine at first glance. But look closer. You see tiny spiderweb cracks across the face, maybe a gray or rainbow discoloration. Sometimes the whole diamond table pops off clean, leaving bare carbide behind.
· What happened: You cooked it. Drilling plastic, sticky shales or running with poor bottom-hole cleaning builds up friction heat. Diamond starts to degrade above about 700°C, especially when there’s cobalt inside the cutter. The cobalt expands, cracks form, and eventually the diamond turns back into graphite. Worse, when you pull the bit and it cools down, those cracks open up.
· Real example: In the Wolfcamp shale in West Texas, a bit drilled beautifully for 30 hours, then hit a wall. The cutters had no impact damage, but they were covered in hairline cracks. Downhole memory tools showed the bit had reached 380°C – hot enough to cook the diamond.
· How to fix it: First and simplest – fix your hydraulics. More flow, bigger nozzles, better cleaning. In that Wolfcamp well, just switching from 14/32” to 16/32” nozzles solved the problem completely. Second, use a fully leached cutter where all the cobalt is removed. That raises the temperature limit to over 900°C. The tradeoff: fully leached cutters are a little less tough against impacts, so only use them in clean, homogeneous formations. Third, don’t run high weight and high RPM together. Pick one. High weight with low RPM creates efficient shearing. Low weight with high RPM creates friction – and friction is heat.
No universal “best” PDC cutter exists. The right choice matches diamond grade, leaching profile, and interface design to the formation’s specific failure mechanism. Real-time monitoring of mechanical specific energy (MSE) often reveals the onset of cutter failure before ROP drops. When a bit comes out dull, resist blaming “dull grade” alone—microscopic examination of the failure surface tells you exactly what changed downhole. Use that signal to adjust either the cutter specification or the drilling parameters, and you will consistently lower cost-per-foot in abrasive, interbedded, or thermal-challenging environments.